

How to create a Face Paint Filter in Spark AR Studio
In this tutorial, you will learn how to create Face Paint AR filters for Instagram and Facebook


When creating filters of characters with markings, scars or tattoos on their faces, the Face Paint material is the easiest way to accomplish that. The Face Paint filter places and morphs an image directly onto your face. Creating filters for cosplay on anime Characters like Sukuna, Allen Walker, Zuko, etc can be achieved by using the face paint shader type.
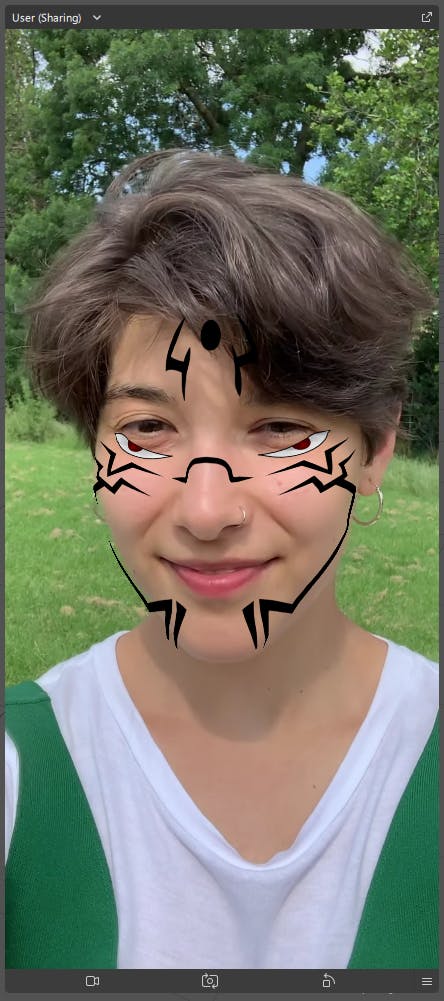
In this tutorial, I'll be creating a Sukuna filter by placing the markers on Sukuna’s face on the face of the user. Sukuna is a cursed spirit who incarnated into the body of Yuji Itadori. His prominent facial markings distinguish him from his host, Itadori Yuji.
Prerequisites
Before we go into the tutorial proper, it is important that you have:
- Spark AR Studio installed on your PC
- A graphics design software like Adobe Illustrator, Photoshop, Figma (or the picture you want to use as the mask)
- A basic understanding of the Spark AR Studio application
Creating the Mask Texture
In Spark AR, 3D objects or models are made up of three things: meshes, materials, and textures. Meshes are the skeleton of the object. Materials are the muscles and basically give the objects a body. Textures make up the skin of the materials. So, the skin is what you will see on the face mesh.
The texture of the material will be the Sukuna face markings that will be used as a mask. You can download the textures you use or create them yourself.
Drawing The Mask
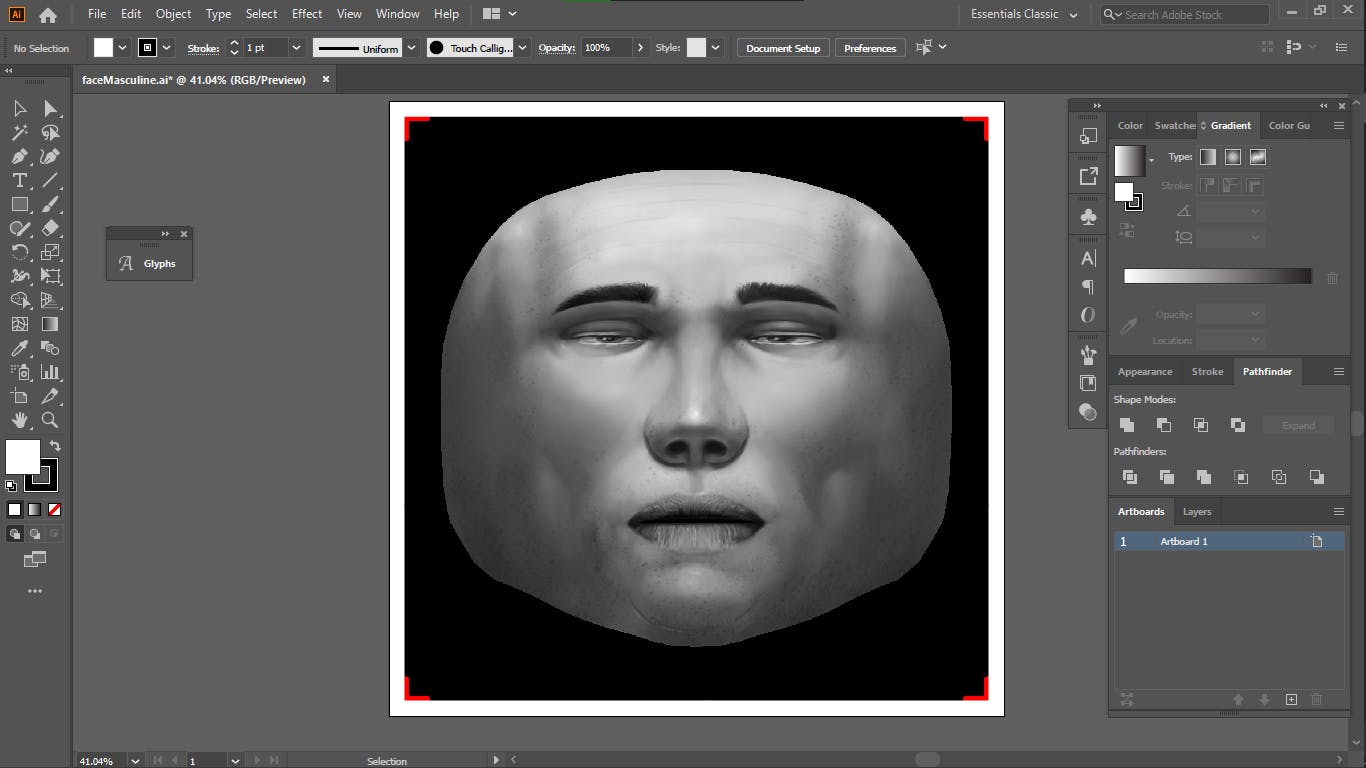
First, download the Face Mesh template here. This will be your guide when creating the mask. In your graphics design/editing software, import the Face Mesh template. I will be using Adobe Illustrator but you can use Photoshop, Figma or any software of your choice. After importing, you should see something like this:
Now, lock the layer on which it is and draw your mask on a new layer above it. I have drawn the Sukuna face markings on a new layer.
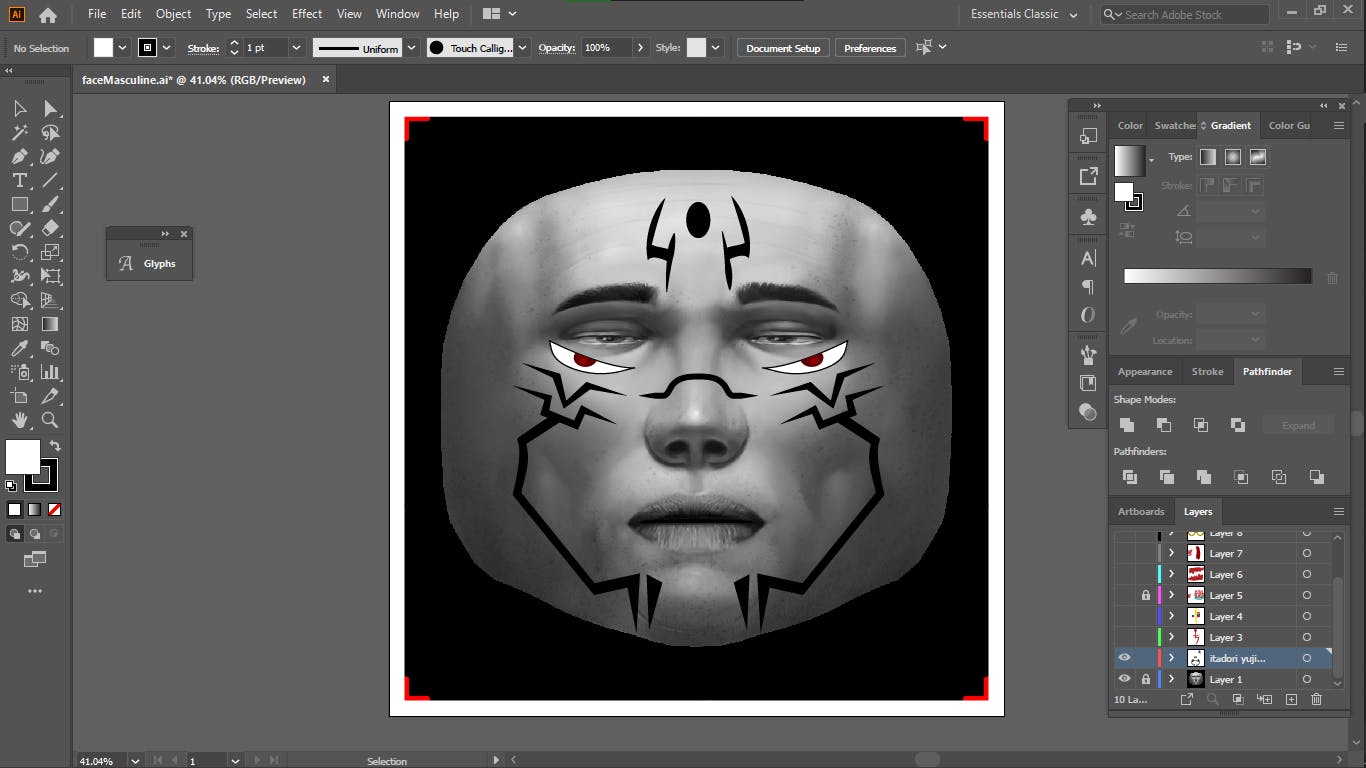
Hide the template layer and export the mask you have created as a transparent PNG. It is very important that it is transparent. This is so that only the markings will be seen on the face and not the background.
You have now created the mask texture. You can download the mask used in this tutorial here.
Creating the Filter
The Face Paint feature is actually a Shader Type. Materials have shader types that affect how they are seen. They could be Flat, Standard, Face Paint, etc. To morph, an object to the user's face, we will be using a face mesh with the face paint shader type as the material of the object.
Let's get into it.
- Open a new blank Project in Spark AR Studio.
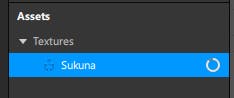
In the Assets panel, import the mask texture we just created into Spark AR.
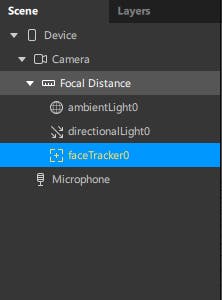
- In the Scenes panel, click on the "+" button on the bottom left of the panel and insert a Face Tracker.
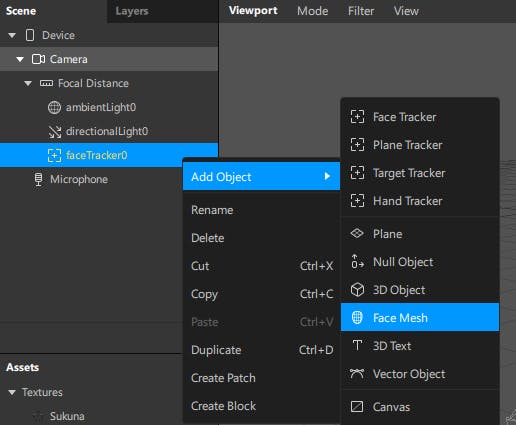
- Now, right-click on the Face Tracker you just added and add a Face Mesh object. This is what will map the mask we have created to the face of the user.
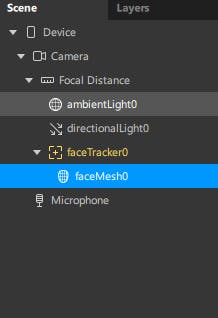
The Face Mesh is now a child of the Face Tracker.
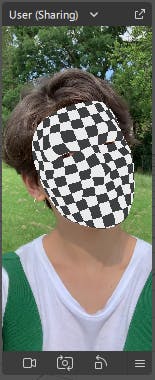
- In the simulator, the face of the person will be coated with a checkered material.
- Click on the Face Mesh object and go to the Inspector Panel. Click on the “+” beside Materials to add a material to the mesh. The material will be named "material0"
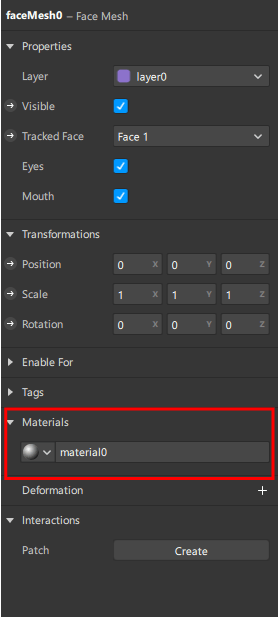
- Rename the material if you wish. I will name it "face_mat".
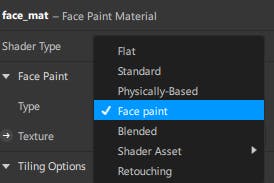
- Click on face_mat and go to the Inspectors Panel. Click on Shader Type and change it from "Standard" to "Face Paint".
- In the Inspector Panel, go to Texture and click on the dropdown beside it. Select the mask texture you imported.
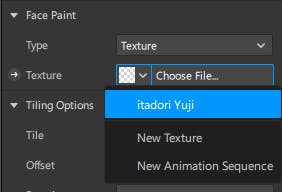
- The texture will now be on the user's face in the simulator.
Alternatively, you can use a colour instead of a texture for the face paint. Just change the face paint type of the material to Colour. This will paint the face of the user in the colour you select.
That's It!
You have now created a Face Paint filter. You can send it to the Spark AR player to test or publish it on Spark AR Hub.
Your filter should look just like the one I published on Instagram at instagram.com/ar/931982034396426